How to French knit (photo tutorial)
Learn how to French knit with this handy step-by-step photo tutorial, using our cute wooden knitting mushroom.

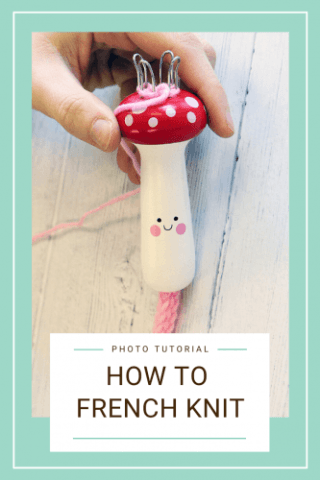
Knitting Mushroom, £6.95
What is French knitting?
Lots of us will remember the art of French knitting (also sometimes known as spool knitting, or tomboy knitting) from our childhood. For many, it was the first introduction to knitting, with no sharp points to worry about. Plus, the wooden spool was far easier to grip than two fiddly needles!
So, here’s how to relive the days of French knitting, or help introduce your kids to this fun craft activity.
How to French knit
Step 1 - getting started
Thread the yarn through the wooden spool. This is most easily done by tying it to the wooden stick provided, and then passing the stick through the centre of the spool.

Leave about 4 inches of yarn at the bottom of the spool, so that you can hold onto it during the knitting process. The yarn at the top of the spool is called our ‘working yarn’.

Take the working yarn and wrap it around one of the pegs in a clockwise direction.

Top tip! Don’t pull the yarn too tightly, or it will be difficult to knit your first round.
Work your way round the spool in a counter clockwise direction, wrapping each peg once, and remembering to wrap each peg in a clockwise direction.

Repeat the above steps until you have wrapped each peg a second time, and created two layers of loops.

Now you’re ready to begin knitting!
Step 2 - creating your cord
Using the wooden stick, lift the bottom loop on each peg up and over the yarn wound around the outside of the peg. Move counter clockwise around the spool, repeating for each peg. This will create a row of stitches.

Repeat the process from Step 2, wrapping another round of loops around the pegs. Then repeat Step 3, lifting the bottom layer of loops again to make another row of stitches.
Pull the yarn from the bottom of the spool.

Continue repeating these steps, and you’ll start to see a four-sided knitted tube come out of the bottom of the spool. We will call this the ‘cord’.

Top tip! Remember to pull the cord down through the spool regularly and keep it as neat as possible.
Continue working in an anti-clockwise direction around the spool until your cord has reached the desired length.
Step 3 - casting off
To cast off, cut the working yarn and thread it through each loop, and then lift the loops off each peg.

Pull the cord through the spool. Then pull the cord and the end of the working yarn tightly to secure. Then simply trim away the excess working yarn to leave you with a complete cord.

Now it’s time to get creative! Popular ideas for French knitting include coasters, hanging decorations, and accessories. Take a peek at our Pinterest board for some fun inspiration.
Pin this tutorial for later: