How to make a daffodil pinwheel this half term holiday
Welcome Spring into your home early this half term holiday.
We’ve teamed up with clever craft bloggers Tia and Laura, over at Little Button Diaries, to keep kids amused this half term holiday. Children of all ages will enjoy their take on colourful daffodil pinwheels made from pretty dotcomgiftshop wrapping paper. Follow simple step-by-step instructions to create your own daffodils – there are two versions to try.
How to make easy daffodil pinwheels
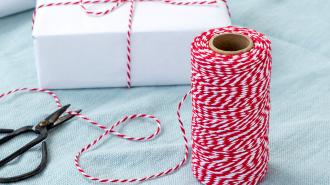
Pick colourful contrasting paper for this craft - pretty wrapping paper works really well. These pinwheels are made from paper, so they won’t survive a Great British downpour. If you want them to be more permanent, try using thin sheets of plastic or even craft foam. We ordered some fun buttons from dotcomgiftshop to decorate the centre of our flowers.
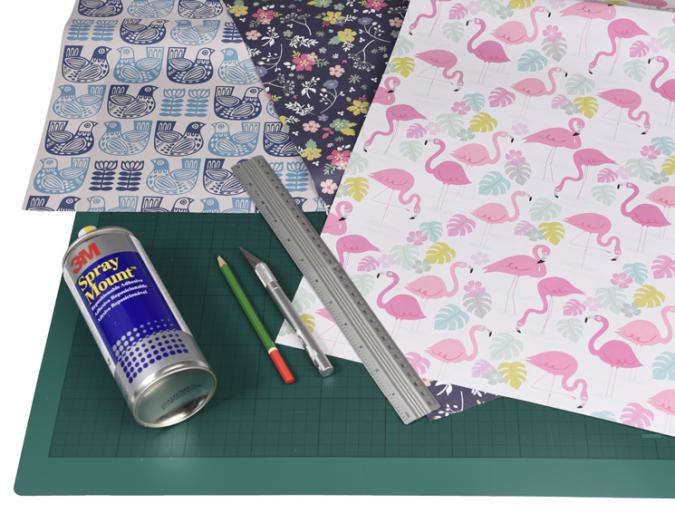
You’ll need:
- Colourful wrapping paper, such as Leafy Lane and Garden Friends from dotcomgiftshop
- Yellow paper
- Fabric buttons and heart buttons
- Craft glue
- Green drinking straws
- Split pins
How to make it:
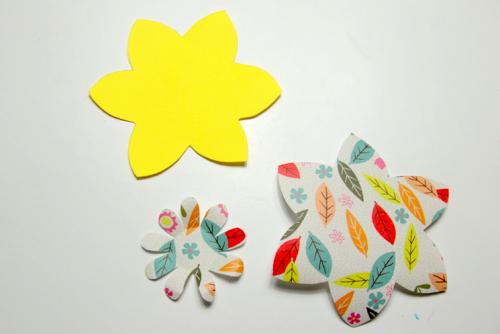
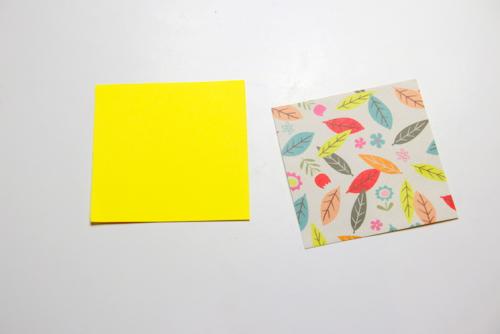
Step 1: Begin by drawing two daffodil shapes onto a scrap of paper or card for templates - one large and one small. Cut one small and one large flower from wrapping paper, then cut another large flower from the yellow paper.

Step 2: Take the small flower and fold the petals in, then curl them out.
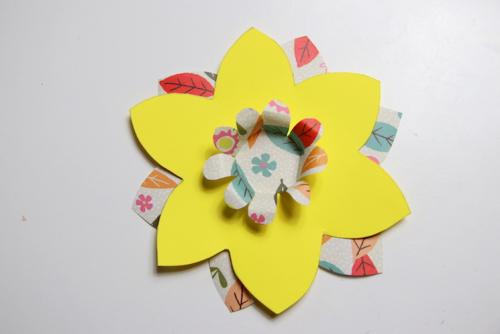
Step 3: Layer up the flower with the yellow paper in the centre.
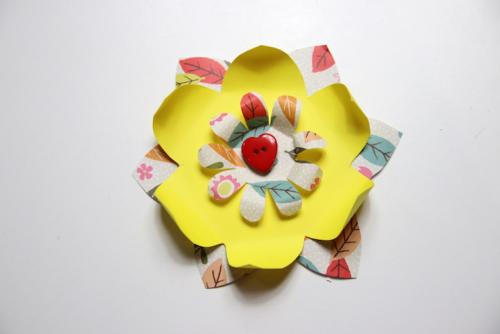
Step 4: Push a split pin through the middle, then glue a button on top and leave to dry. Wiggle the paper to loosen it on the pin.
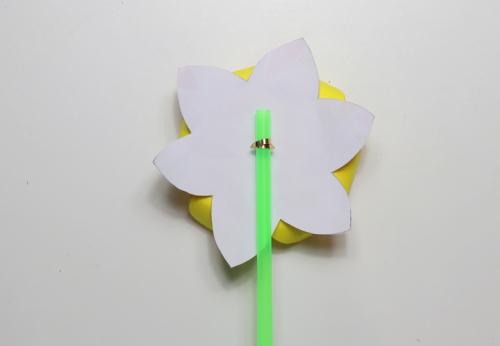
Step 5: Open up the split pin and wrap it around the top of the straw. If it feels loose you can add a little bit of tape to secure it to the straw. Make sure the tape does not stick to the paper, or the pinwheel won’t spin.
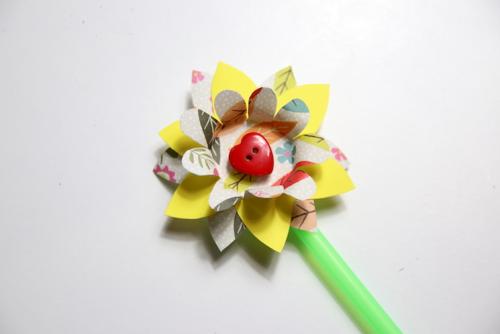
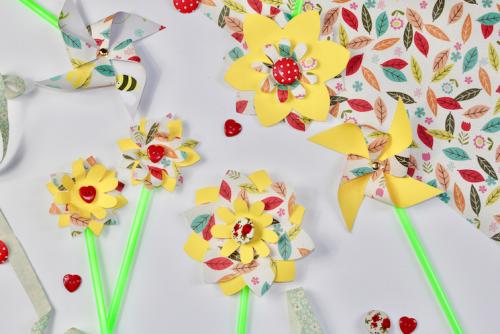
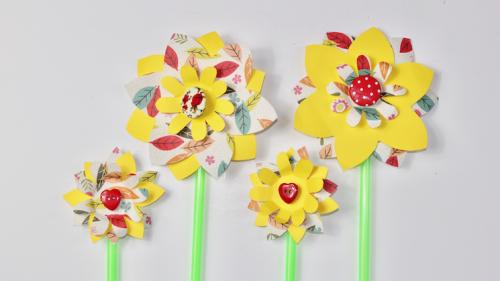
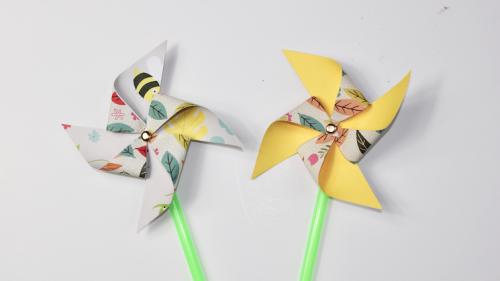
Step 6: The finished article. Now you can make a few more flowers in different shapes and sizes, if you like.
How to make a traditional pinwheel
Step 1: Cut two 4in (10cm) squares from the wrapping paper. Glue them together back to back - making sure you glue the whole square - and leave to dry.
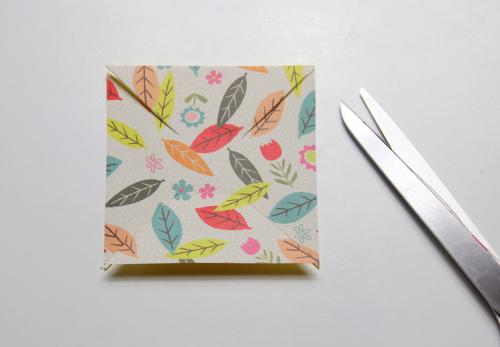
Step 2: Draw a line in pencil from one corner of the card to the other, then repeat for the other corner. Mark 2in (5cm) up each line, and cut up to this point. Rub the pencil out.
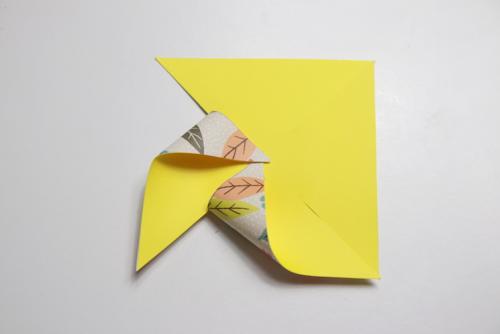
Step 3: Pull one of the corners into the centre, bending gently in.
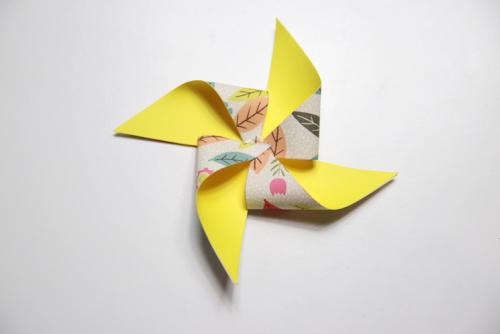
Step 4: Bring the other corners in and glue in the centre. Leave to dry.
Step 5: Push the split pin through the centre of the paper. Give the pinwheel a good wiggle to loosen it. Open up the split pin and wrap it around the top of the straw as per step 5 of the daffodil pinwheel.
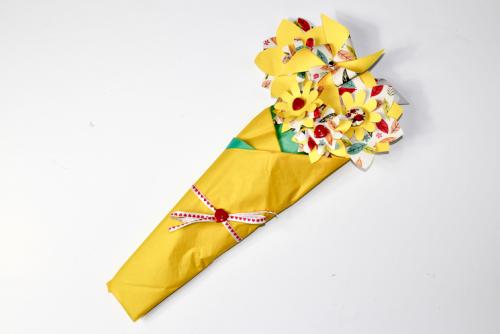
Make a spring bouquet
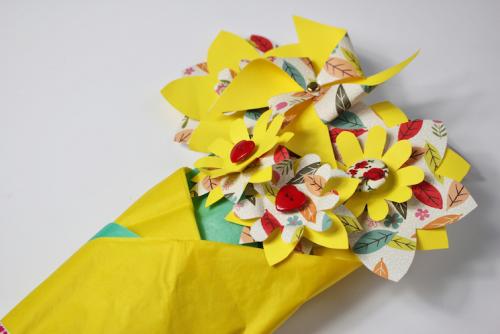
This golden bouquet would brighten up any dark corner.
Now you’ve mastered the technique, why not make friends and family a pretty bouquet to brighten things up until Spring actually arrives. And if you’re looking for more ideas to keep children busy during the school holidays, check out dotcomgiftshop’s fun selection of craft kits.
These beautiful daffodil pinwheels are easy to make and an ideal activity for children of all ages. Give them a go, and be sure to share your finished pinwheels with us over on our Facebook page - we'd love to see them!